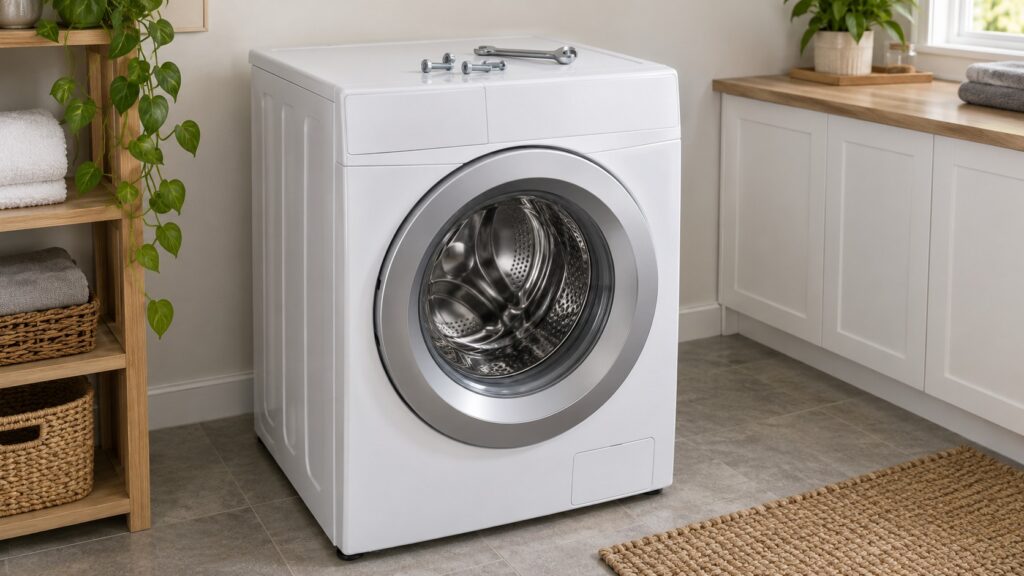
Before you run a new Kenmore front load washer, remove every shipping bolt and level the machine. Our installation guide calls the shipping bolts the single most commonly missed step, because they lock the drum for transport and, if left in, the washer vibrates violently and can damage itself on the first spin. Then level it front to back and side to side, adjusting the feet. Your owner’s manual shows where the bolts are and how to remove them.
What are the shipping bolts on a Kenmore front load washer?
Every new washer ships with bolts or rods that lock the drum in place during transport. Our Kenmore washer installation guide says this is the single most commonly missed step, and that a washer with the bolts still in will vibrate violently and can damage itself during the first spin cycle. Our page on excessive vibration agrees: on a newly installed or recently moved washer, shipping bolts left in place are the most common cause of heavy shaking and of a washer that walks across the floor, and they have to be removed before use.
The washers on our pages with the 796 prefix are LG-built front loaders. The Kenmore 796.4044 series is listed as a front-load washer with a tumble-action drum, a direct-drive motor and a stainless steel drum, and our page says its service documentation is LG-authored. For the bolts themselves, the owner’s manual for your model is the authority. It shows the locations and the tool, and it shows what to do with the holes afterwards.
How do you remove the shipping bolts?
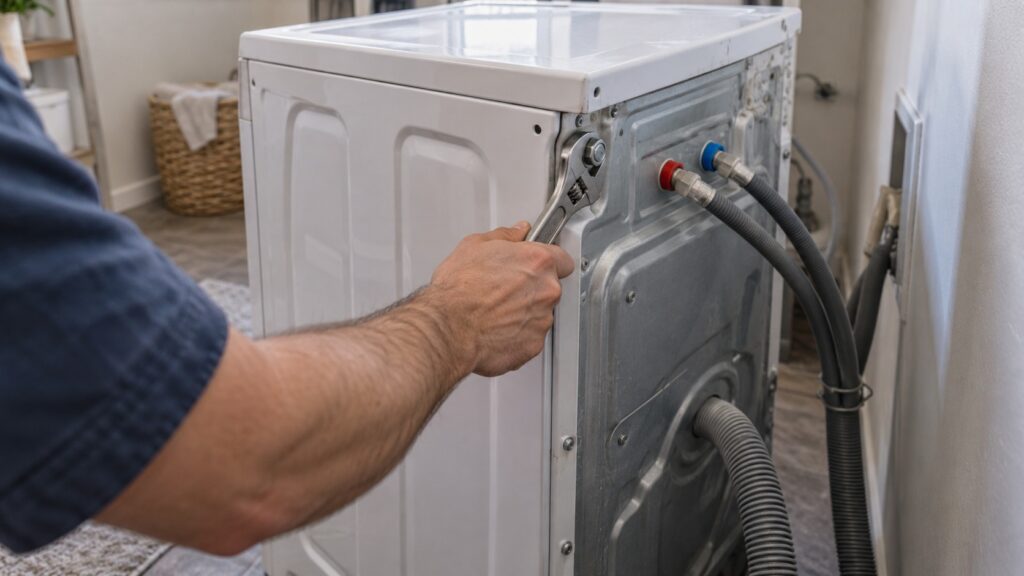
The exact steps differ by model, so use your owner’s manual. Our installation guide gives the general rule: check the manual for the exact bolt locations on the back panel, remove all of them, which it says is usually four, and keep them in case you ever move the washer again. Do the job with the washer unplugged, and have a second person ready if you need to tilt or move it, because a front load washer is heavy. Do not remove a panel to find the bolts. They are on the outside, and the manual shows where.
Count the bolts you take out and compare the number with the manual. If you find that one is stuck, stop and call; do not force it with a long bar. After removal, keep the bolts together, for example in a bag kept with the manual, and follow the manual for anything it says about the holes.
Kenmore front load washer leveling: how is it done?
Our guide gives three steps. Place a bubble level on top of the washer and check both front to back and side to side. Adjust the leveling feet at the bottom corners until the washer sits flat and does not rock when pushed. Then tighten the locknuts against the cabinet once it is level, so the feet do not shift. The guide adds that a washer that is not level is far more likely to trigger an unbalanced-load code during spin.
Check the floor as well. A floor that flexes will let a washer drift out of level once it has a full, wet load, so push down on each corner and look for movement. Check again after a first full load, because a machine that was level when empty is not always level under load. If the washer walks or rocks, re-level it before you look for any other cause.
What does the UE code mean on a Kenmore washer?
UE is the code you meet if the washer is not level or the load is lopsided. On our code page it means an unbalanced load was detected on an LG-built Kenmore washer. Our UE guide says the washer paused the spin to protect itself and that redistributing the load usually clears it: open the door, spread the clothes evenly around the drum and restart. It also lists a washer that is not level as something that makes balance problems more likely with any load, and says that if UE shows up on nearly every load, something in the setup or the machine is worth checking. Our Kenmore washer 796 UE code guide has the full list.
Washing a single bulky item, such as a comforter or a rug, with nothing to balance it is the common cause, and it has nothing to do with the bolts. A recurring UE on balanced loads after you have leveled the machine may mean worn suspension parts, and a technician has to look at that.
What else belongs in a new washer installation?
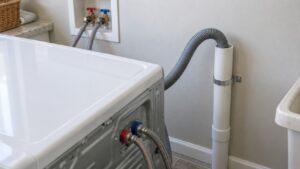
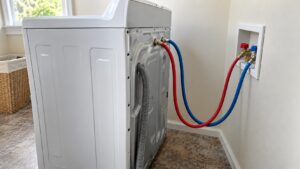
Our installation guide covers the rest of the list. Use new supply hoses rather than old ones, because rubber hoses degrade over time and are a common source of leaks. Connect hot to hot and cold to cold. Tighten the hose connections by hand and then give a quarter turn with pliers, because overtightening can strip a fitting. Turn on the water and check both connections for drips before the first cycle. The drain hose has to empty into a standpipe at the height your manual gives, with the hose inserted only a short way, to keep an air gap and prevent siphoning. A standpipe that is too short or too tall can cause poor draining or siphoning.
Our Kenmore washer installation guide goes through all of it, and our washer not draining guide helps if the standpipe is the problem.
When should you call a technician?
Call if you are not confident handling the hoses and leveling, if the installation involves relocating water lines or adding a standpipe, if a bolt will not come out, if the washer still shakes badly after the bolts are out and it is level, or if you inherited a washer that someone else installed and problems began after a move. Our guide suggests having the installation itself checked in that case, because a quick look at the hoses, the bolts and the feet rules out the most common preventable causes. Do not open the cabinet. Our washer repair page explains how a visit works.