To defrost a Kenmore chest freezer, empty it into coolers, switch it off and unplug it, leave the lid open, catch the meltwater with towels or through the drain plug if your model has one, dry the inside and restart it. Our pages list Kenmore chest freezers as manual defrost, and our maintenance guide says to defrost once frost starts to reduce usable space or stops the lid closing, typically once or twice a year. Do not chip ice with a sharp tool.
Kenmore chest freezer defrost: when does it need doing?
Our guide to freezer frost buildup says chest freezers are typically manual-defrost units by design, so light frost over weeks or months of use is expected. The threshold to watch is frost thick enough to stop the lid closing, to bury stored items or to reduce the usable space. At that point, our guide says, a manual defrost is the normal maintenance step and not a repair. Our maintenance guide gives the same advice and puts the frequency at typically once or twice a year, depending on humidity and use.
The models on our pages that list manual defrost are the Frigidaire-built chest freezer 253.9163210 and the chest freezer 675.18528, whose builder our page marks as unconfirmed. If your model number is not one of them, check the tag and the manual; uprights in the 253 family on our pages are listed with manual defrost as well, and the steps are similar.
What do you need before you start?
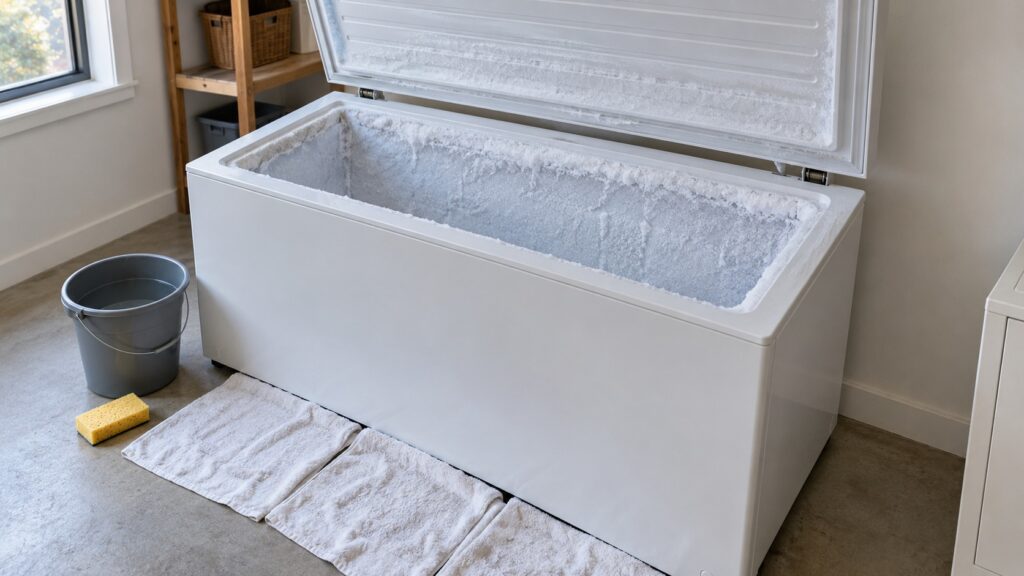
Gather a few coolers with ice, towels, a shallow tray or a bucket and a plastic spatula. Choose a time when you can leave the freezer alone for a while, and clear a path to a drain or a spot you can mop. Our installation guide says a manual defrost freezer needs somewhere for meltwater to go: a drain plug at the base with room for a tray beneath it, or a position you can mop around without moving the appliance. If your freezer is pushed tight into a corner, plan how you will reach the floor around it.
Check the clock for the food. Food safety guidance from the FDA says a full freezer keeps food safe for about 48 hours if the door stays shut, and about 24 hours if it is half full, and cold food should stay at 40°F or below. A defrost with the lid open is not the same as a closed freezer, so move the food to coolers with ice first and keep the coolers shut.
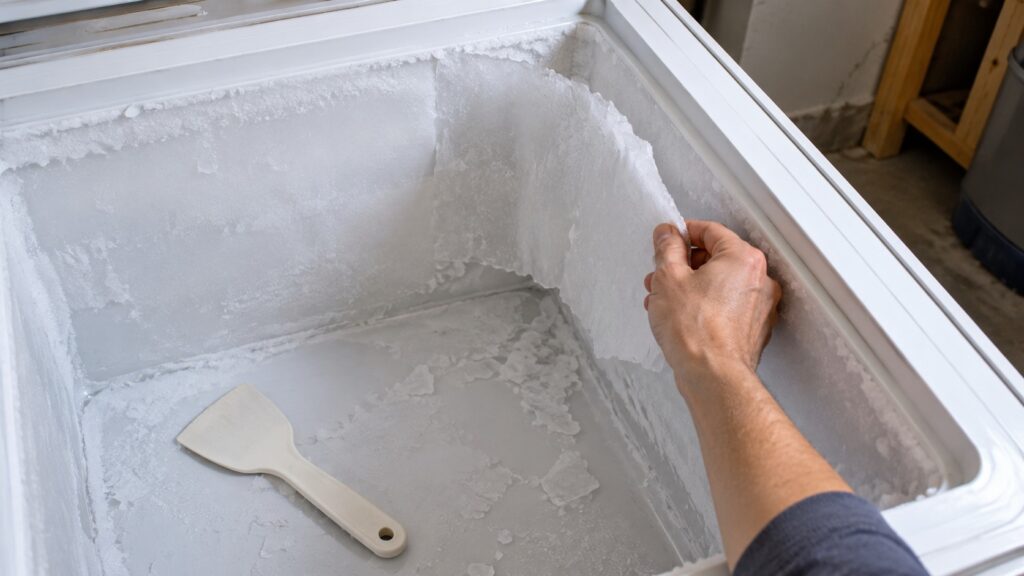
How do you defrost a chest freezer step by step?
Our pages give the outline, and the exact steps differ by model, so check your owner’s manual for details such as the position of the drain plug.
First, move the food into the coolers and keep them closed. Second, switch off the freezer’s control if it has one and unplug the freezer, as our maintenance guide says, and leave the lid fully open. If there is any water on the floor near the outlet, do not touch the plug; switch off the breaker at the panel while standing on a dry floor. Third, lay towels along the bottom and around the freezer to catch water, and if the model has a drain plug at the base, put a tray beneath it and open the plug as the manual describes. Fourth, let the ice loosen and melt, and lift out the loose pieces with your hands or a plastic spatula. Our maintenance guide warns against sharp tools to chip away ice, since a punctured interior wall or coil is a far more expensive problem than the frost it was meant to remove. Do not use a knife, an ice pick or a screwdriver, and do not use a heat gun.
Fifth, wipe the inside dry, wipe the lid gasket and look at it for tears, and check that the drain plug is back in place if you used it. Sixth, plug the freezer back in and set the control as the manual says. Let it come back to temperature before you reload; the manual says how long, and our installation guide notes that a new chest can need several hours or overnight. Reload gradually, putting the food back in the order you want to find it.
How do you manage the water and the mess?
Meltwater is the main nuisance. A drain plug at the base lets it run into a tray, and towels along the bottom take the rest. Our installation guide says that on a chest, level matters less for the lid but still matters for the drain plug to work when you defrost, so check that the freezer sits level. Do not let water run toward an outlet or an extension cord, and do not step on a wet floor near the freezer. Keep a mop and a second towel close by, because the water often arrives faster than you expect.
If the water does not drain, do not poke at the drain with a tool; remove the loose ice by hand and soak up the rest with towels.
What should you check once it is defrosted?
Look at the lid seal first. Our maintenance guide lists a torn gasket that went unnoticed for months and dust-clogged coils straining the compressor as the most common freezer repair causes, and it says a chest left un-defrosted so long that ice interferes with the lid seal creates a cycle of worsening frost. If the gasket is damaged, frost will come back quickly. Do not pull panels to reach the coils; if the coils need cleaning and they sit behind a cover on your model, the manual says whether that is an owner’s job.
Then watch the freezer. Frost that returns fast after a defrost, a compressor that runs constantly or an unusual noise points to a component nearing failure rather than a maintenance gap, according to our maintenance guide. That is a reason to call.
When should you call a technician?
Call if frost returns soon after a defrost, if the lid will not seal even when the ice is gone, if the freezer does not reach temperature, or if there is water you cannot explain. Our guide to a Kenmore freezer that is not freezing lists what else to check, and the freezer frost buildup guide covers frost that does not belong. Our freezer maintenance guide sets out the routine, the Kenmore 253 freezer models guide explains the chest and upright families, and our freezer repair page explains how a visit works.