The grease people want to remove is usually not on the surface they are scrubbing. If you clean kenmore oven door glass on both accessible faces and the haze is still there, it is between the panes — and the only way to reach it is to open the door up. This guide covers the straightforward clean first, then the between-the-glass job, and where the line is between them.
Work out which surface is dirty
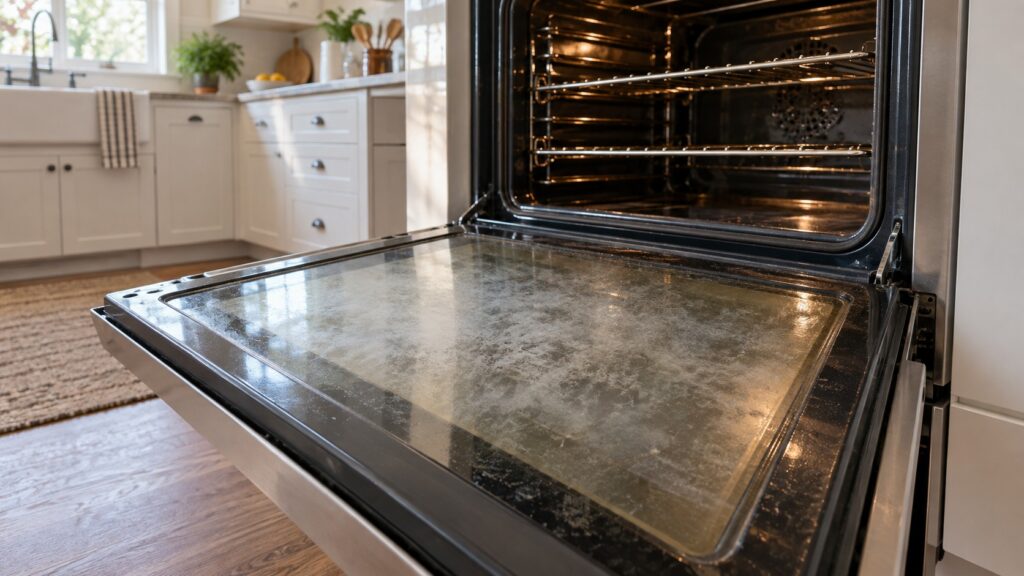
Wipe the outer face with a damp cloth and look again. Open the door and wipe the inner face the same way. If the marks move, you are done. If they stay exactly where they were while both accessible surfaces are clean, the deposit is inside the sandwich of panes.
That happens because the door is vented — air moves through it to keep the outer glass cool enough to touch — and greasy vapor travels with that air. Over years, a film builds on the internal faces. It is not a defect and every oven does it.
The routine clean, done properly
Let the oven cool completely. For the inner face, make a paste of baking soda and a little water, spread it over the glass, and leave it for fifteen to thirty minutes on light soil or a couple of hours on baked-on deposits. The waiting is what does the work; scrubbing immediately just moves the paste around.
Then wipe with a damp cloth and lift what remains with a plastic scraper or an old bank card held at a shallow angle. A razor blade scraper works but it is unforgiving — held at any angle but flat, it scratches, and a scratch on oven glass is permanent and weakens the panel.
Finish with a vinegar solution to clear the baking soda haze, then dry. For the outer face, ordinary glass cleaner on a cloth rather than sprayed onto the door — spray finds its way into the vents and into the control panel.
What not to use, and why it matters
- Commercial oven cleaner on the glass — most are caustic, they can etch the surface and damage the printed markings around the edge, and they run into the door vents where nothing rinses them out.
- Steel wool or scouring pads — every scratch is a stress point, and oven glass is under real thermal stress in normal use.
- Anything on warm glass — cleaners flash off and concentrate, and thermal shock from a cool wet cloth is a genuine crack risk.
- Self-clean as a shortcut for a greasy door — that cycle runs extremely hot and is hard on the door lock, thermostat and control board.
That last one is worth dwelling on. The self-clean cycle is the single most common event behind a control board failure on a range, because it runs the cavity far hotter than cooking ever does.
Reaching between the panes
This is a real job but not a difficult one. It varies by model, so photograph every step as you go and keep the screws in order.
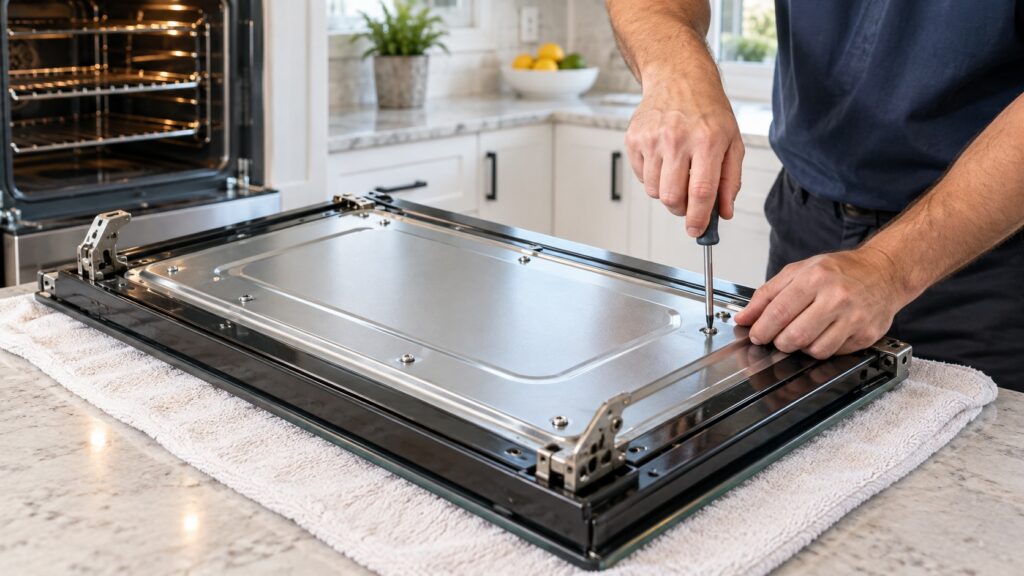
- Remove the door. Most designs have hinge locks you flip up with the door partly open, then the door lifts off. It is heavier than it looks — two people, or a padded surface ready.
- Lay it face down on a towel on a flat surface.
- Remove the screws around the inner panel, usually along the top edge and the sides. Keep track of which came from where.
- Separate the panels carefully. There are usually spacers and clips, and sometimes an insulating layer that must go back the same way round.
- Clean each internal face with glass cleaner and a lint-free cloth. Let everything dry fully.
- Reassemble in reverse, tightening screws evenly and not over-tightening — the panels are held, not clamped.
- Refit the door and check it closes flush and seals all round.
Take your time on the reassembly. A panel that goes back with a spacer missing will rattle, and a door that no longer seals costs you heat on every cycle and cooks unevenly. Our uneven heating guide covers what a poor door seal does to results.
While the door is off
It is the best chance you will get to look at the parts you never see. Check the door gasket all the way round for flattened or missing sections, since that is what seals the cavity. Look at the hinges for wear and at the springs for distortion — a door that sags or will not stay in position is usually hinges rather than anything else.
Clean the frame the door seals against, and check the door switch or lock mechanism operates cleanly. Our oven parts guide covers what each of those components does.
When to stop and call
Stop if the glass is chipped or cracked anywhere — a damaged pane can fail under thermal stress and should be replaced rather than cleaned. Stop if the door will not come off with the hinge locks released, rather than forcing it. And stop if reassembly does not go back cleanly, instead of tightening screws down onto something that is not seated.
When to call
Call for cracked or chipped door glass, a door that no longer closes flush or seals, sagging hinges, a door lock that does not operate, or an oven that heats unevenly after the seal has been checked.
We are an independent repair company and not a factory service arm. Pricing starts from a diagnostic visit and we confirm the estimate before any work begins. Kenmore oven repair covers doors, hinges, seals, heating and controls, and you can schedule a visit online.